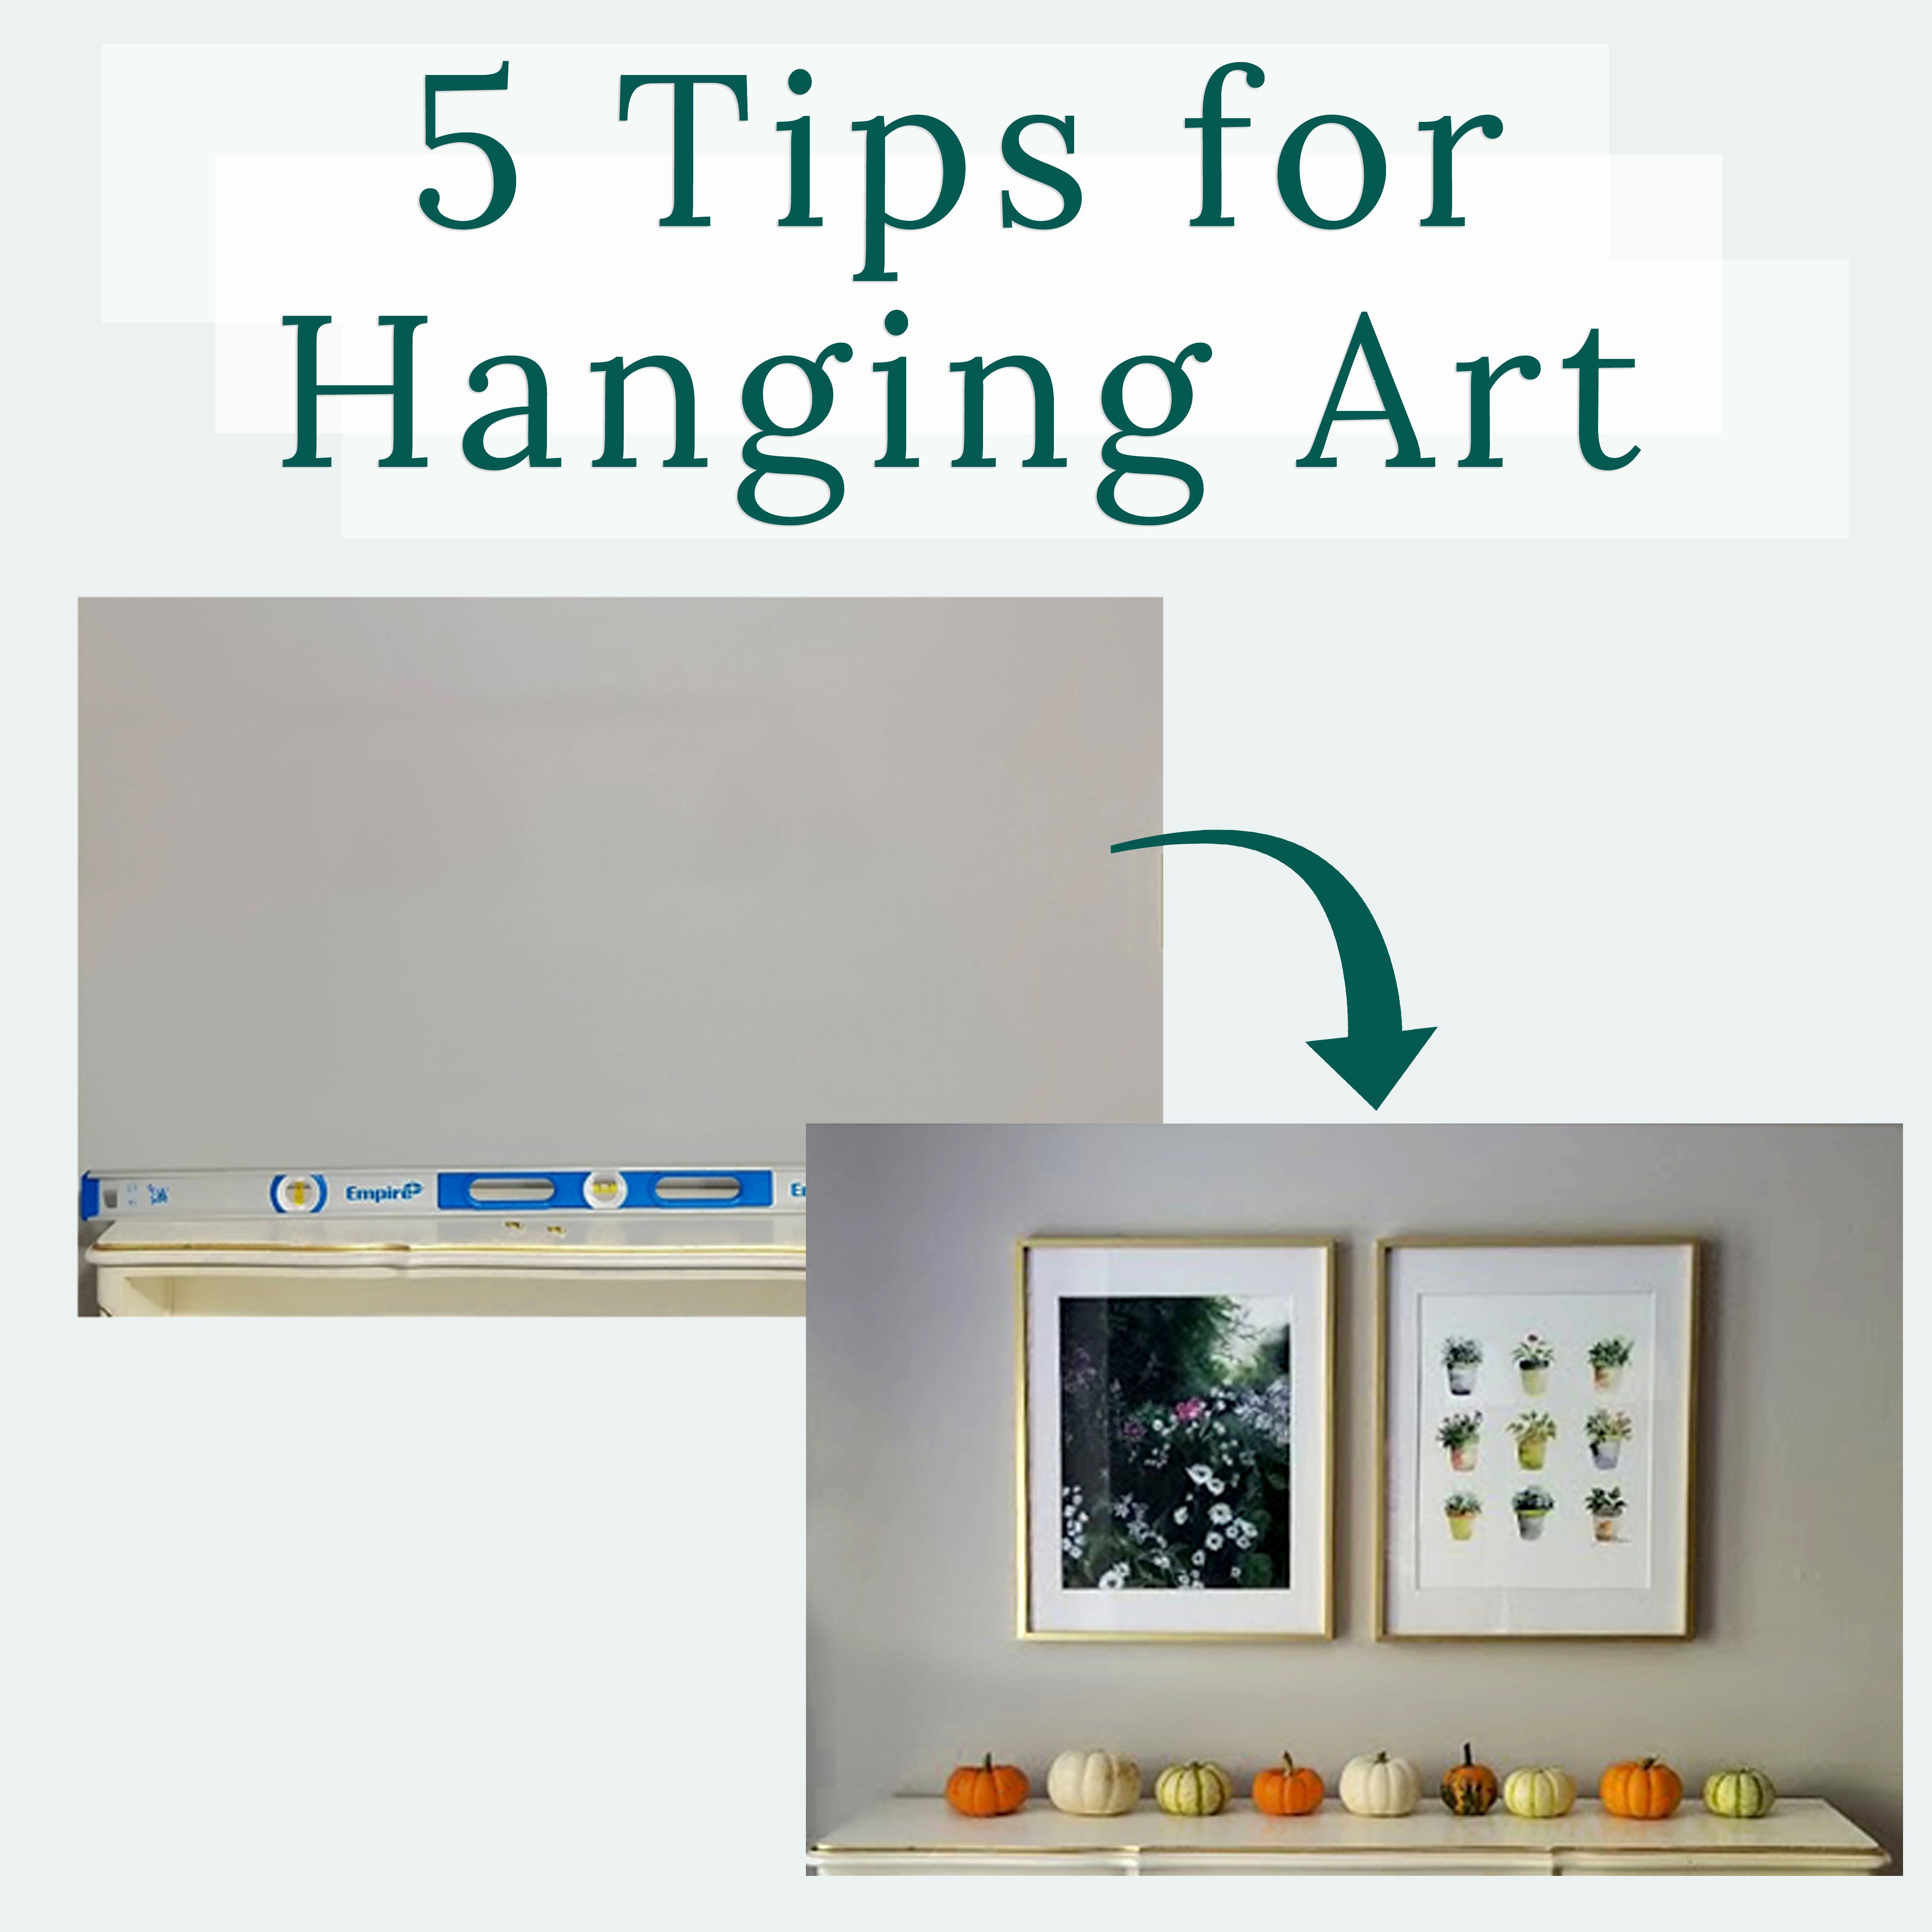
Five Tips for Hanging Art

Five Tips for Hanging Art
Displaying art you love is one of the fastest ways to infuse your personality into your space and make it feel more like a home, so it's important not to hide those paintings or prints in the bedroom closet - bring those babies out of hiding and hang them up!
There are some tried-and-true designer tricks to keep in mind while hanging art that can make things so much easier. I've put together five of my favorites for you because I know that with a little planning and prep, you can bring your walls to life in a big way.
1. MEASURE THEN MULTIPLY
Choosing art that is too big or too small for the space is one of the biggest mistakes I see when it comes to hanging art. If the piece you're hanging is too big, the art doesn't have room to stand out and can feel uncomfortably crowded. If the piece is too small, the art can be swallowed up by empty wall around it and feel out of place.
In order to find the ideal size of art that you need for your particular space, all you need is a measuring tape and a calculator.
***Ideally we want our art to fill 2/3 of the wall space above furniture or on a blank wall. This ratio will allow enough blank wall space around the artwork for the eye to be drawn to it, but not too much that the artwork feels like it's drowning. Doing the math will give you a clearer idea of the size you should be on the lookout for.
You'll start by measuring the width of the wall or the furniture you'll be hanging the art above. Once you have the width in inches, you can discover the ideal amount of space you need to fill by simply multiplying that number by 0.6.
Multiply the width of the wall or furniture piece (in inches) by 0.6
For example, if your bookshelf is 45" wide, you would multiply 45 x 0.6 to find that your ideal size for your art above the bookshelf (including the framing), would be 27 inches wide.
Once you know how much space you need to fill, you can decide if you want to hang a single piece of art in that approximate size, or gather a number of different pieces to create a set or gallery wall.
2. LEAVE THE RIGHT AMOUNT OF SPACE
When hanging art above furniture, keep 4-8 inches between the bottom of the art and the top of the furniture piece.
When grouping art together in a gallery wall or set, keep 2-3 inches between each separate piece of art. This will help the eye view the art grouping as a whole rather than have everything feel like disconnected and spread apart.
3. HANG AT EYE LEVEL
When hanging art on a blank wall, the general rule of thumb is to hang the art at eye level. This way, you and your guests will not have to crane or crouch to view the artwork. Eye level ranges from one person to the next, but a general rule of thumb is to measure 60 inches from the center of the artwork down to the floor.
4. USE PICTURE HANGING ANCHORS
A simple nail will often get the job done when hanging a frame, but I've found that using picture hanging anchors makes a world of difference. These little metal pieces will help to reinforce your nails and keep the artwork nice and secure on the wall - and it's so simple to do!

5. USE A LEVEL
The human eye and brain can often tell when something is not perfectly straight, even if we're not fully aware of what is off. So it's always best practice to pull out the level when hanging art to make sure the artwork is nice and straight.
***A bonus tip for keeping artwork straight is to put a little sticky tack in the bottom corners of the frame once you get it nice and level.
Adding art to your space is such an important way to showcase your personality, brighten your walls, and create a home you love. Can't wait to get to hanging and need some fresh new art? Check out these best sellers from my Garden Daydream Collection!


